Showing posts with label craft. Show all posts

Thursday, September 12, 2013

Chambray Peasant Dress


The pattern I used was from Sew-much-ado, I'v used her site for a couple of things and they have been great. I love a good tutorial with patterns how can you go wrong with free? I also wanted a dress a little bigger then 0-3 months so I just magnified the pattern before printing. I held it against a 6 month dress and it looked about right.

The other modification I made to this dress was adding the ruffles which was super simple. I just made one big long ruffle cut it into three pieces and sewed them on before making my elastic casing.

Really Enjoying the idea of my little girl wearing an outfit made 100% by her Mom.

Tuesday, September 10, 2013

Busy Bee + Baby Obsessed

I find myself anxious already about this baby coming. So much to do, yet I want her here in my arms right now all at the same time. So what am I doing to keep myself busy and preparing?

I have two part time jobs and a small business of my own. I work 8 hours a week retail for fun and discounts, and I am a personal trainer growing my client base very quickly these days. I work Monday through Saturday, so this keeps me busy!

I am also going through a women's speciality course through the national academy of sports medicine. Soon I'll be a specialized women's trainer with an emphasis in pre and post natal very soon!

Sewing sewing sewing. Baby shoes, baby moccasins, burp rags, baby dresses, little things for the nursery, and of course hair bows. I can't seam to pull myself away from the millions of things I want to sew for this little baby girl of mine.

These are some infant baby moccasins I made, I also made some for her she is older as well. Along with some little flats! Baby shoes are hard to make perfect to match but I did my best and I'll admit I'm proud of them.

Burp Rags! I embellished some cloth diapers as burp rags, and they are in this cute wire basket next to the rocker awaiting for those late night feeds. Along with some others for the diaper bag and stroller.

This is a handy dandy little quick project to help the door shut quietly when sneaking up on the baby which I know I will be doing!

I also enjoy just rocking in my nursery gazing at where my daughter will soon be. It is completely finished which makes me ecstatic but I am keeping it to myself for the time being but don't worry I will post pictures eventually.

Saturday, August 24, 2013

Our New Glider

I always hear or see pictures on people buying ugly stuff for cheap and making them amazing. I never thought I would be capable of doing it myself. But I found this old glider on ksl for only $29 and I couldn't help but buy it and take on the challenge.

This is the before of the Glider

What we did:

- Took the pads to the bathtub and gave me a really good wash
- Took the whole glider apart, primed, sanded, then painted each section
- Put back the rocker
- We got a big roll of foam from Hobby Lobby and I used the old cushions and traced a pattern onto the foam and cut pieces of foam in the same shape
- My Mom made grey linen slip covers and we put both the old cushions and the foam pieces into the slip covers
- I made a new cover for the springs and threw the old white one you see in the photo above, I replaced it with a quilted piece of mustard canvas and batting

Taa Daaaa!!!

Sorry I just can't help but be so happy about this chair. It is literally exactly what I wanted (which was impossible to find) and it only cost us around $60 when most wooden gliders were starting at $150 - $500.

Don't mind us testing paint right behind the rocker!


Wednesday, December 15, 2010

Paper Ornaments


Ever girl that walks into our little apartments comments on these adorable paper ornaments!


Our tree when it was done bring decorated!
Light: k-mart
Ornaments: Dollar store, Walmart, and homemade!


Sorry I did not take pictures of the making process but it is so easy, sooo easy! If you've noticed I'v been all about the quickest crafts ever! Although if you plan on making a lot of them like I did it takes a long time.

You'll Need:
Scrap booking paper (Double sided best)
String/thread
Glue
Scissors/Paper cutter

1. Cut your paper. (If its not double sided it will still work, but you can see inside and so it looks much better if there is a pattern/colour inside and outside). You will want to cut a lot of little strips. Half inch wide and four inches long is what I did. You will need six for one ornament.

2. Take your glue (glue gun works best) and two strips of paper. Glue their ends together so that it looks like a circle. 

3. Take you're remaining four pieces of paper and glue them to the top and bottom of your circle to make a round ornament like shown below!

4. Tie you're string or thread on, then hang on tree. Enjoy the compliments!

Note: I feel like this was so simple, that I had a hard time explain it! Once you make one I am sure you will understand what I am saying, they are so easy and cute.


Happy Crafting :)

Saturday, December 4, 2010

Necklace/Headband Holder

Okay so this is the post I promised all of you a couple days ago. I can't believe it has taken me this long to post a craft, all the ones I have been making lately are for christmas there for unbloggable!

Well if you are all like me I have accessory issues, where do I put all of them! Head bands are a hard to store thing when they have flowers on them, and then with my new necklace venture I have so many necklaces and no place to store them. So I discovered these! 

All you need is:
- Empty Ribbon roll
- paint/or ribbon
- mod podge
- cute paper


1. If you have a brown ribbon roll like this one you want to paint it white. If you have a one one you can leave it, or like shown later I glued some ribbon inside to give it a little more depth and detail.


2. After it is painted cut out a circle. Put a layer of mod podge lay your paper down and press flat. Wait ten minute and put another layer of mod podge down, let dry and your done!

I know its so easy its silly right?


Here are my three I made, I put them up on the wall in our bathroom and hung my necklaces up on it. They also work great for head bands!


If you look past the necklace you can see brown, this is ribbon that I'v put in the inside


On this one it actually has white ribbon inside to add a little something :)
 Personally I love these, I have them up in my bathroom and they are the perfect thing to hold my necklaces and headbands. And everything is from stuff around the house, yay cheap and useful!


Friday, October 29, 2010

Wool Wreath

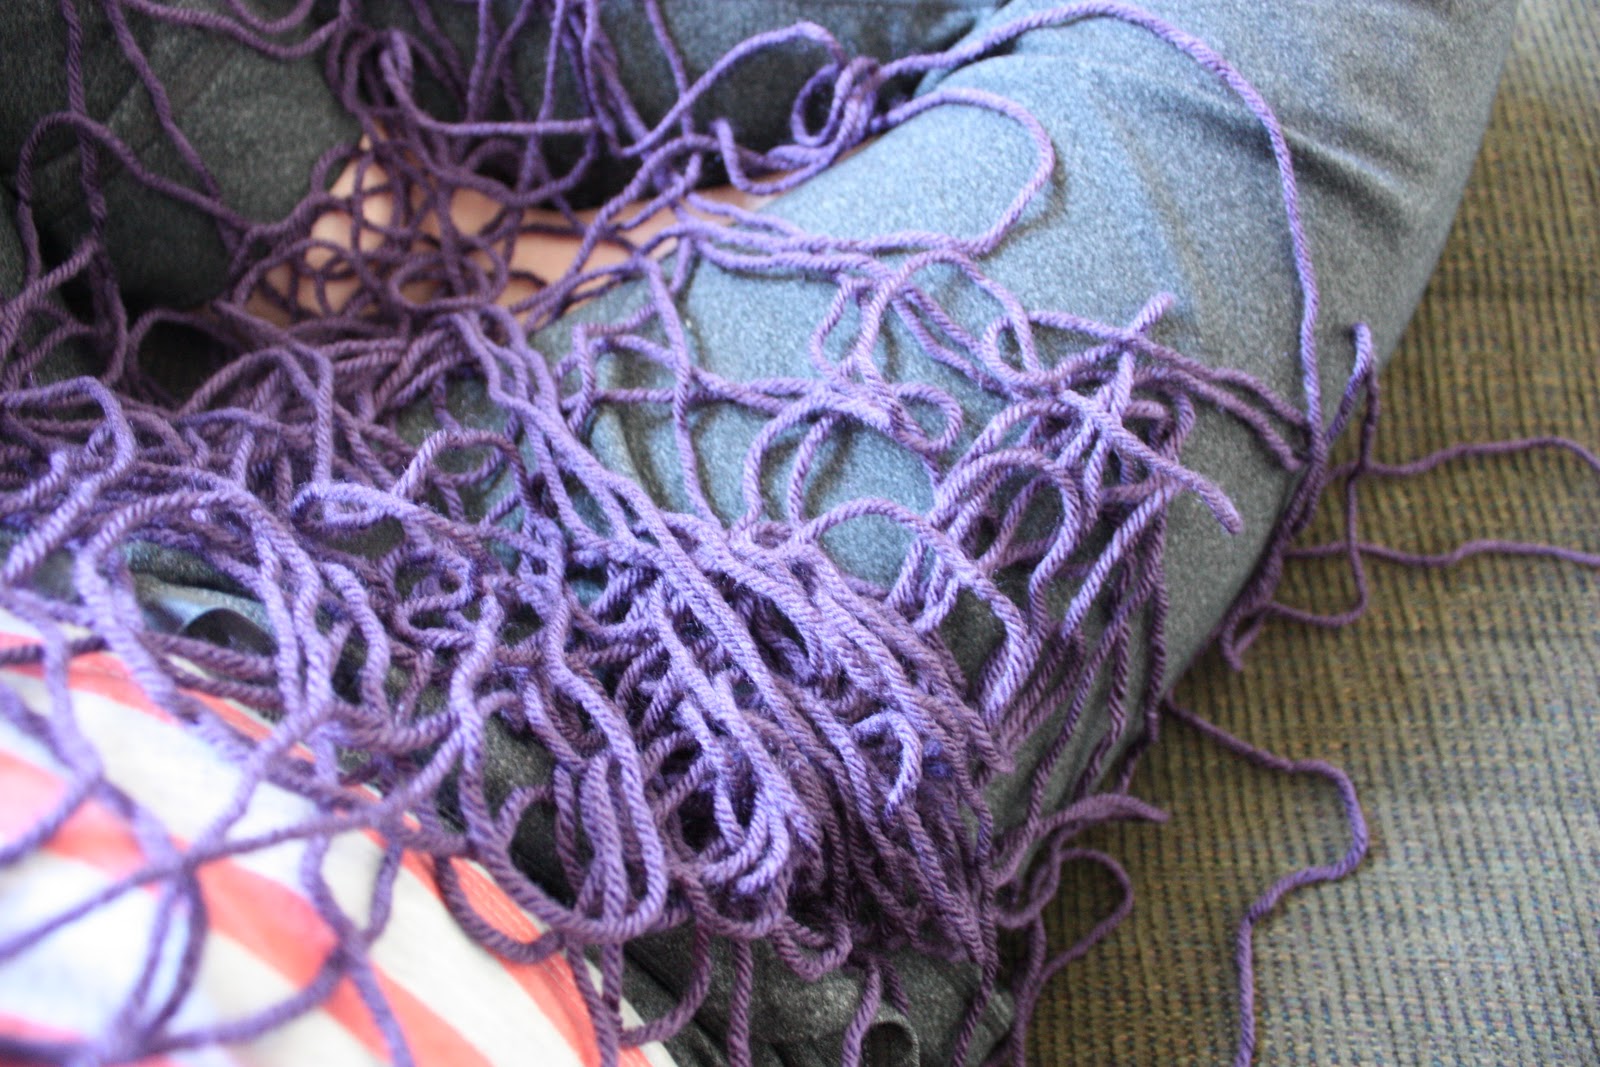
I found the tutorial for these wreaths here, and I absolutely love it! I will be making another one once I muster up the courage and time again, but I am going to try something different that I thought up myself! This was a long craft and my finger hurt after wrapping all this wool around my wreath but it was worth it! I just love it :)


A mess of wool on my lab, then it was finally done!


I wanted to hang it up with a peice of lace to try it out on my door, but patience has never been very good with me! (Mom and Taylor I know your nodding at that!)


Saturday, October 23, 2010

Fabric Necklaces

My life has been busy busy busy! I have been busy making some of these as well, I have a lot of things I need to post about, but no camera cord so I have to wait!

Anyway I hand stitched this necklace it took me forever! But if you have a sewing machine, you can whip this up in less than 30 minutes.

You'll Need:
Sewing Needle/thread
6 inchs wide fabric (then cut into 3 inch strips)
Wooden beads/glass beads
Time!

If your hand sewing this just use a simple weave little stitch such as above. Sorry I don't know the name of the stitch!

Tie a not in the middle drop a bead in one side, tie another knot, then drop a bead it and continue!


I love this necklace, it has so many different colours in it which means it matches with almost everything, the fabric makes it light weight and also very unique! I'v had a good amount of people ask me where I bought it!

This necklace was featered as #1 on Vintage Pollyanna

Tuesday, October 19, 2010

Old Hudson Jeans, New Accessories

Do you have some old jeans laying around, or maybe some jean scrap? This is the perfect craft for just that!

I had a pair of Hudson jeans that were much too long for me. So I had them hemmed and kept the extra jean and made the fallowing! 


I made this jean flower and put it on a head band! It is my new favourite headband, it goes with everything and is just so cute! I love it!


I also made these earrings to match. As you can see the jean ones in the top left. Then I made a couple of  earrings with some fabric I had around.


All I did was get a button kit from Joannes, and then hot glue earring posts onto the back! So cute, cheap, and fun!

Sunday, October 17, 2010

Key Holder

       You will need:
  • Scrapbook Paper
  • Wooden key holder
  • Paint and paint brush
  • Mod Podge
  • Paper cutter


I went to Michael's and picked up some Amy Butler scrap book paper. Then I hopped over to porters and picked up this wooden key holder for $4. Then I painted it white.


I sliced my paper with a little paper cutter, I did mine 1.5 inches for my particular key hanger.


Then I put Mod Podge on all the wood, then I laid down the paper patting it flat making sure its all smooth. I let this dry for about five minutes and then put another layer of Mod Podge down. Let this dry and your done!


This was so easy, and pretty cute if you ask me! Its little and simple but we always know where our keys are now!


Happy Crafting :)

Friday, October 8, 2010

Lace Belt


I bought this belt from the DI for $1.04, and then I bought some lace and hot glued it on to make a cute girly belt!


And it turned out like this!


Happy Crafting :)

Tuesday, October 5, 2010

Dress Applique

I bought this adorable blue dress for only $12 but it needed a little something so I made these flowers and added them too the waist line!! :)


I made the flower as showen ealier in my blog here. Then you can do one of two things: Pin it on, or use fabric tack. I was a little unsure as to how, where or if I did want this on my dress so I first pinned it on. But if you want it to stay there forever, make your flower but make sure you use fabric tack (found at a Joannes or someplace like it) make sure it is washable. I use Fabric Tack by Beacon since it is permanent and will last through the wash. Happy Crafting :)